


ConfigMgr Console
How Can I Install Report Builder?
Topics: ConfigMgr Console, Systems Management
Why would you want to download Report Builder (RB)? I must admit that I don’t use the application an awful lot, but I find it particularly useful when I can’t access my own laptop. When this happens, instead of using SQL Server Data Tools (SSDT), I can use Report Builder to create a reporting project and make quick edits to an existing report or dashboard from another workstation.
What is Report Builder?
According to Microsoft, “Report Builder provides data visualizations that include charts, maps, sparklines, and data bars that can help produce new insights well beyond what can be achieved with standard tables and charts. Use Report Builder to create reports and shared datasets. Publish report parts, and then browse the Report Part Gallery to reuse existing report parts as building blocks for creating new reports quickly with a “grab and go” experience.”
You can read more about Report Builder’s features on Microsoft’s download page.
How to Install Report Builder
Report Builder is an incredibly helpful tool for making edits to existing dashboards/reports on the fly. So, if you find yourself needing to make quick changes from secondary workstations a lot, it’s worth taking the time to learn how to install and use Report Builder. There is now only one way to access the Report Builder setup software.
You can install a Report Builder download from Microsoft’s website. Technically you can download it from the SQL Server Reporting Services (SSRS) website, which just redirects you to Report Builder download from Microsoft’s website.
You might be wondering whether or not you can run Report Builder from the Microsoft Configuration Manager (ConfigMgr) console. Yes, but Report Builder must be installed first on your desktop.

The download link for Report Builder is found here. After clicking on the Download button, wait for the MSI to download to your computer.
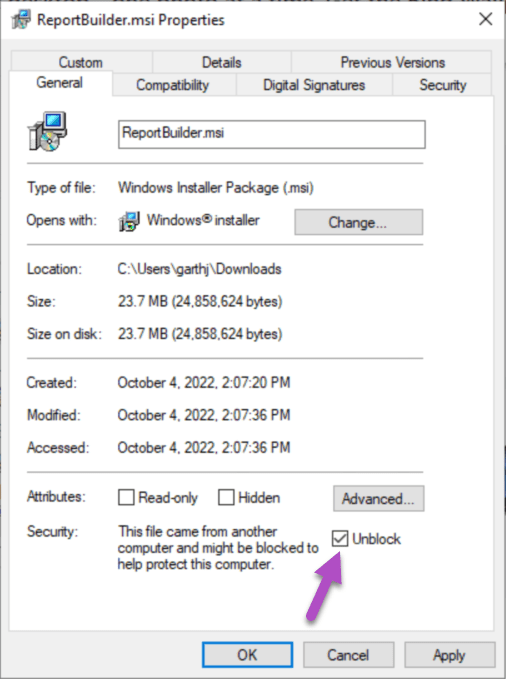
This is an optional step, but I always find that it reduces headaches in the long run. Unblock the MSI before continuing. Open your download folders, locate the MSI (ReportBuilder.msi), right-click on it and select Properties. Next, select the Unblock checkbox and click OK.
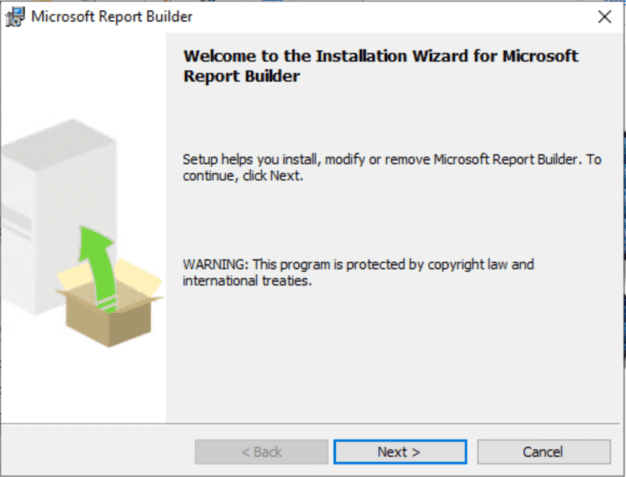
Double-click on the MSI in order to get to the welcome screen. Click on Next to continue.
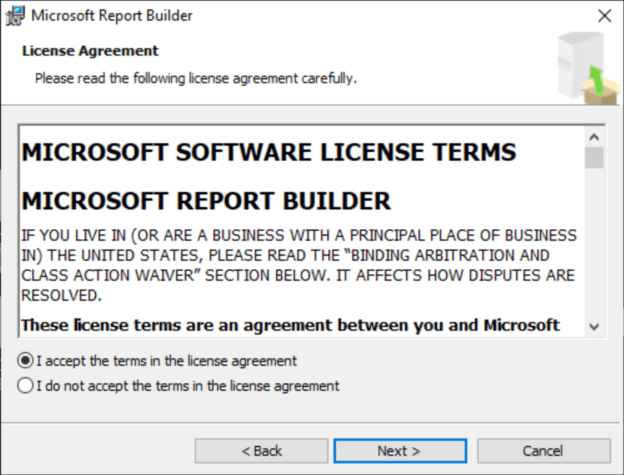
Select, I accept the terms in the license agreement, and then click on Next.
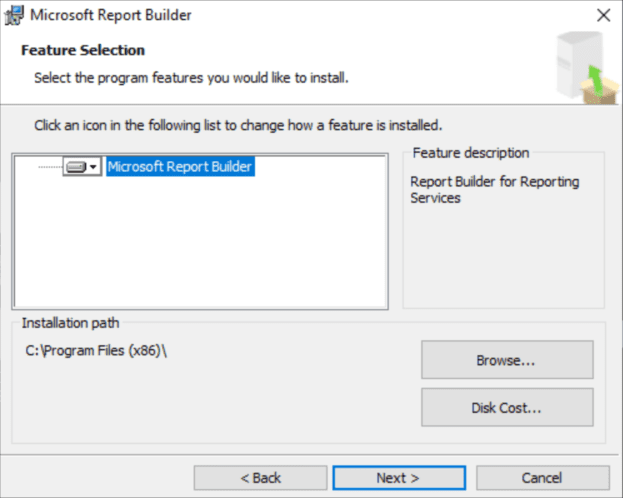
Accept the default path and click on Next.
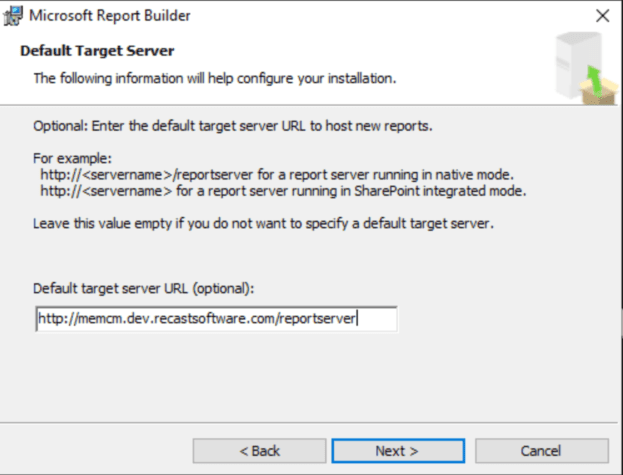
This is another optional step. I recommend filling in the default target server URL because you will want the SSRS ReportServer URL. In my case http://memcm.dev.recastsoftware.com/reportserver, notice it is the reportserver URL that I’m using. Click on Next to continue.
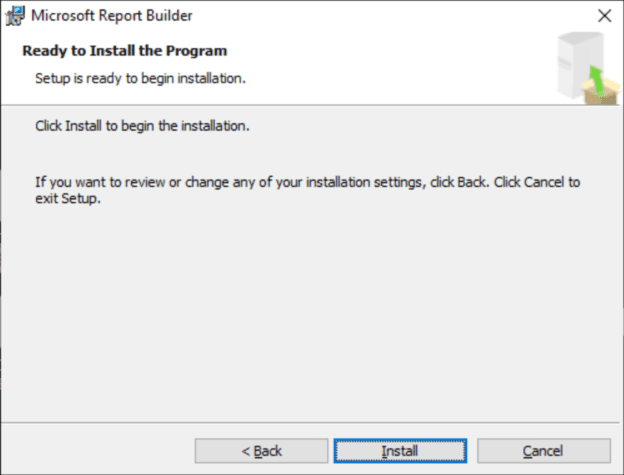
Click Install.
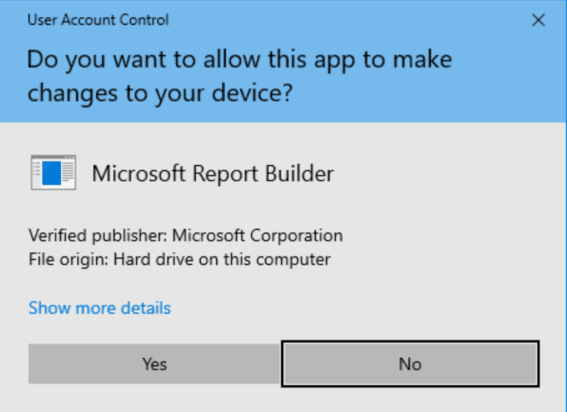
If prompted for UAC, Select Yes to allow the install to continue.
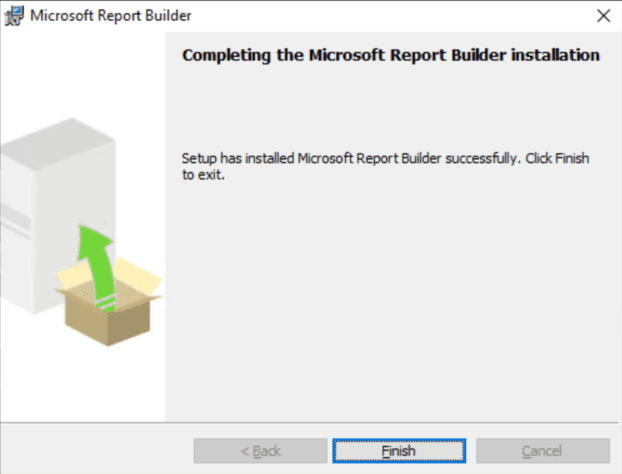
Click Finish to complete the installation.
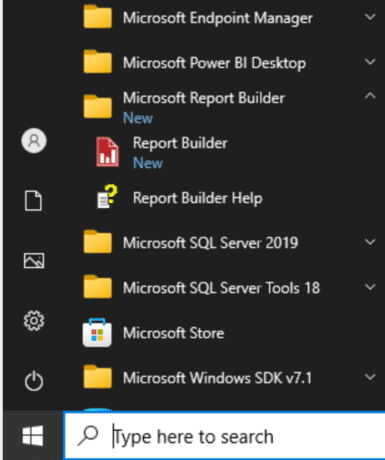
Report Builder is now accessible from the start menu.
Run Report Builder from the ConfigMgr Console.
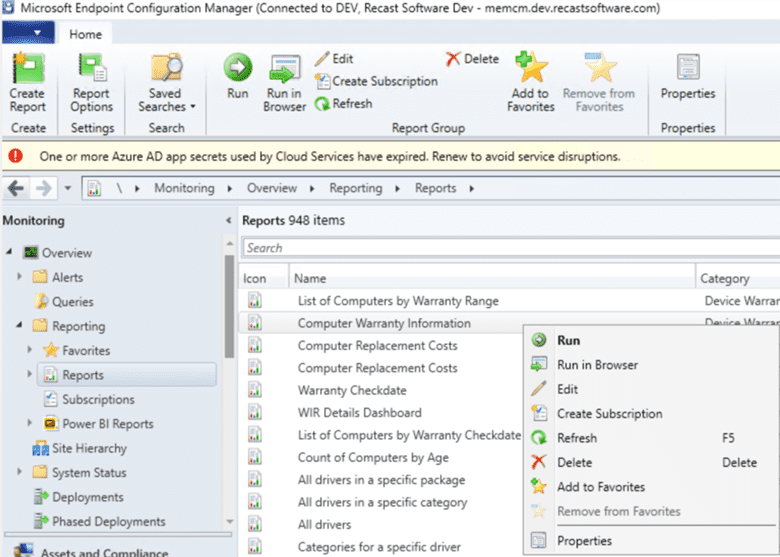
From the ConfigMgr console, select a report and right-click before selecting the Edit. This will allow you to edit the reports directly from the ConfigMgr console.
Run Report Builder from the SSRS Website
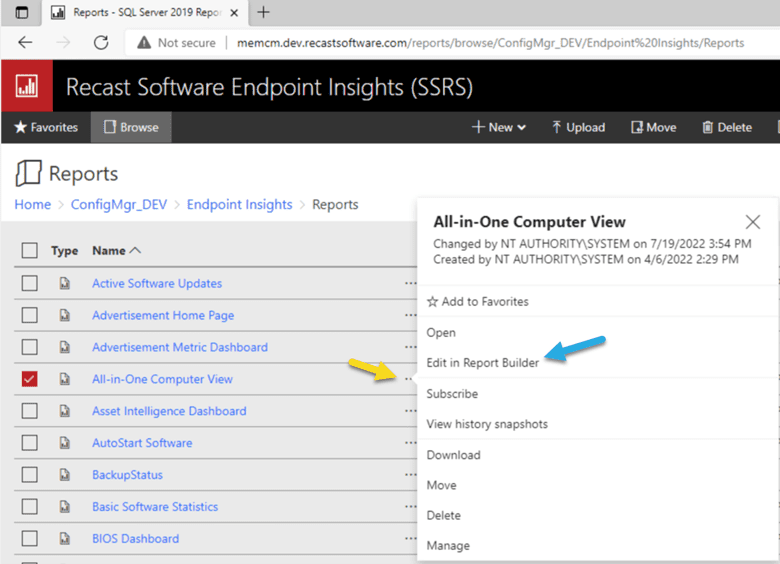
From the SSRS (or Power BI Report Server (PBRS)) locate the report that you want to edit. Click the manage link (…) (yellow arrow) then click Edit in Report Builder (blue arrow).
I hope you find these instructions helpful. Keep in mind that you will still need to grant permission to allow users to edit reports. If you haven’t done this yet, please see the post, How to Start Editing SCCM Reports with Report Builder, for more details.
If you have any questions about how to install Report Builder, please feel free to contact me @GarthMJ.
Additional ConfigMgr / SCCM Resources
Learn more about how to better use ConfigMgr / SCCM.
Overview
Inventory
Reporting
- How to Install a SCCM Reporting Services Point
- Dynamic Images to SSRS Report for SCCM
- Editing SCCM Reports with Report Builder
- Fixing the SCCM Reporting Services Point
Scripting
Security/Permissions
Software
External Integration